How do I swap the panel message interaction method? (Buttons/Dropdowns)
To customize how users interact with the panels, you can set it up to use either buttons or a dropdown.
You can customize how users interact with your ticket panels by choosing between buttons or dropdown menus. This guide walks you through changing the panel interaction method.
Access the Web Dashboard
Open your Tickety Dashboard. Log in using your Discord Account.
Navigate to the Ticket Panels
-
Once logged in, locate and click on the "Ticket Panels" section in the sidebar.
-
You'll see a list of existing ticket panels. Select the panel you want to edit.

Navigate to the Embed Tab
-
Inside the selected panel, click on the "Embed" tab at the top of the page.
-
Scroll down to the "Panel Button Style" section.

Choose the Interaction Type
In the Panel Button Style section, you'll see the Button Type setting with two toggle options:
- Button - Users click individual buttons to create tickets
- Dropdown - Users select from a dropdown menu to create tickets
Click on your preferred option to select it. The selected option will be highlighted.

Configure Button Options
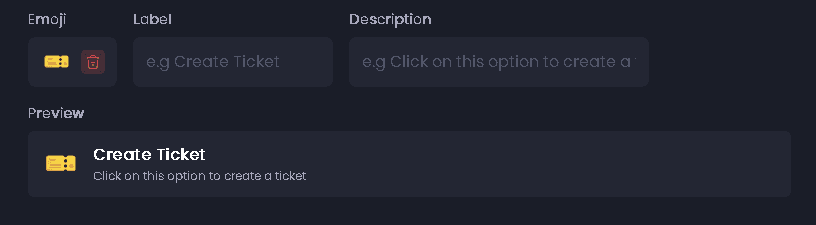
After selecting your interaction type, you can configure the buttons or dropdown options that will appear on your panel. In the table below the Button Type toggle, you can set:
- Emoji - Add an emoji icon to the button or option
- Label - Set the text that appears on the button or in the dropdown
- Description - Add a description that appears below the label
The Preview section below shows how your configured buttons will appear to users.
Save Changes
After configuring your panel button style, click "Send the Panel" at the top of the page to save and publish your changes.