
Create an application panel
Build an application form, choose who reviews it, and post the panel.
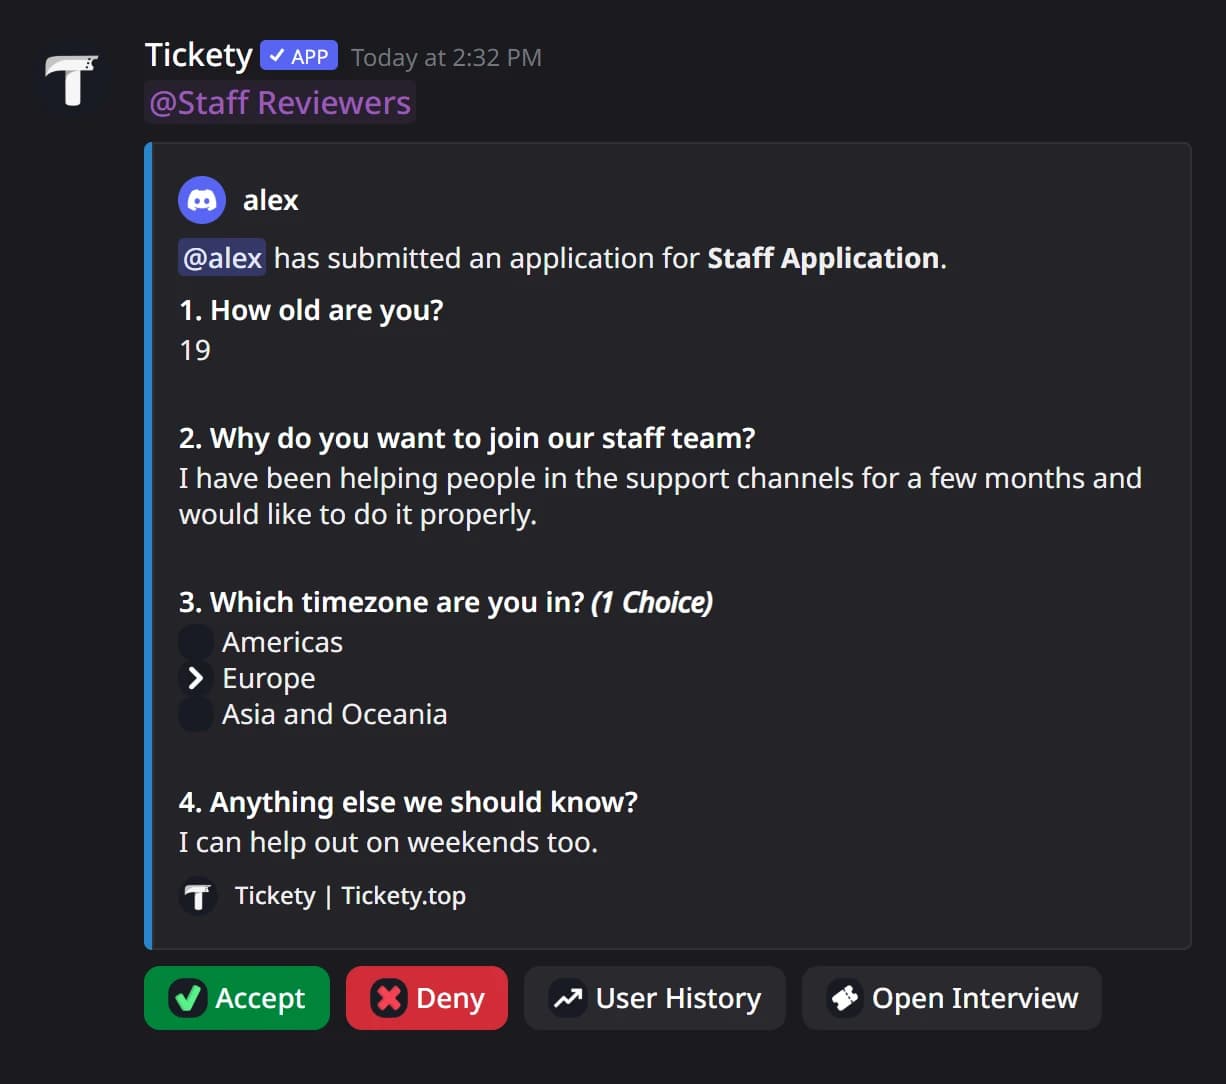
An application panel is a message members press to apply for something, like a staff role. Tickety asks them your questions, then posts their answers in a channel your review team watches, with Accept and Deny buttons on it.
Before you start, make sure your server has an admin role in Settings: Tickety refuses every application until one is set. See step 1 of Create a ticket panel and post it.
Start a new panel
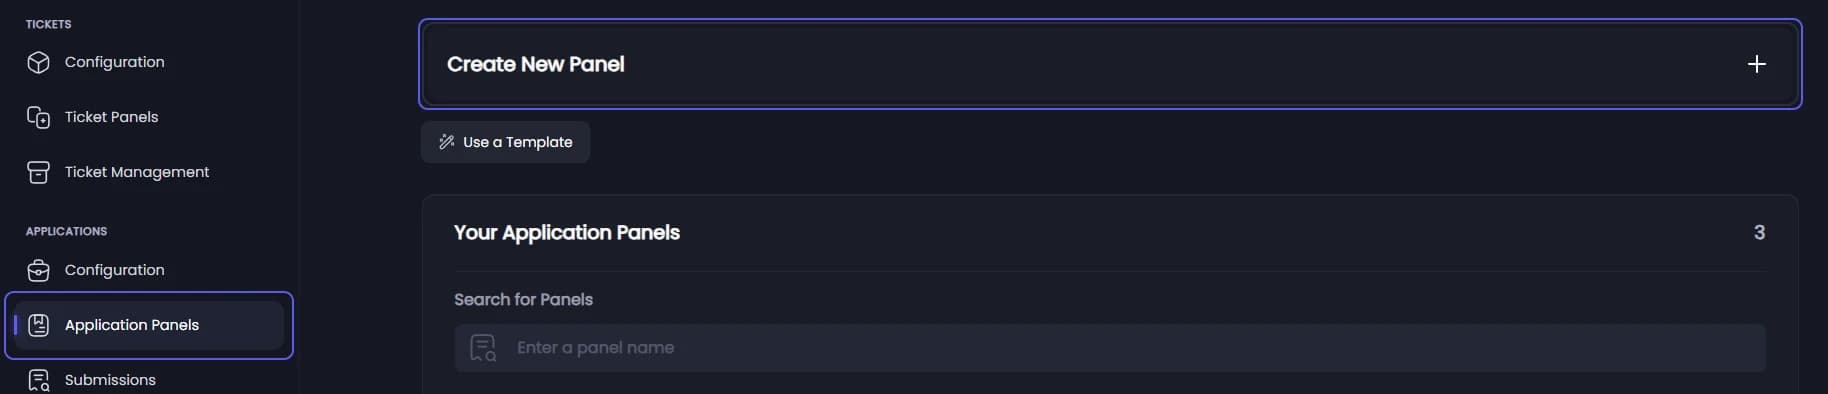
Open your dashboard and pick your server. In the sidebar, under Applications, click Application Panels, then press Create New Panel.
On your first panel a short setup wizard opens instead of the editor. Press Advanced Settings at the top right to leave it and follow this guide.
Set up the panel
You are on the General tab, under Panel Settings.
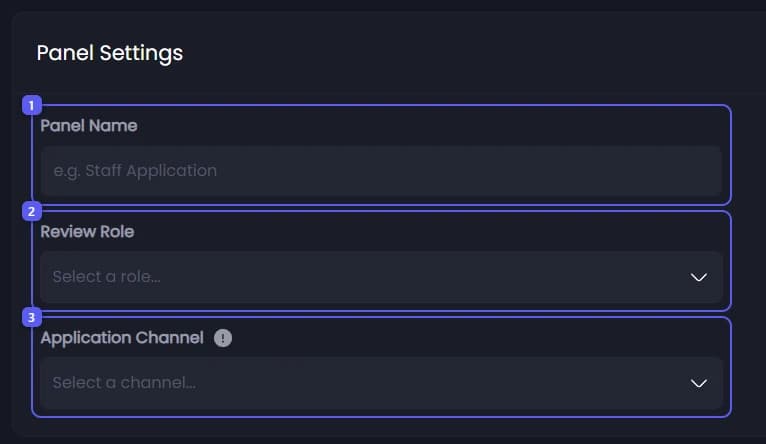
- Type a name in Panel Name, like Staff Application. Up to 80 characters.
- Open Review Role and pick the role that reviews these applications. Members with it can accept and deny them, even without any other permission. Your admin role can too.
- Open Application Channel and pick a private staff channel. Every finished application is posted there for review. This is not the channel the panel goes in.
A finished application arrives in that channel like this, with buttons to accept or deny it:
Add the first question
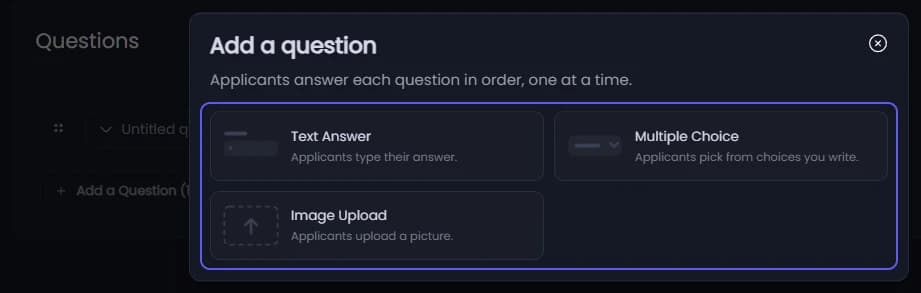
Click the Questions tab and press Add a Question, then pick how applicants answer:
- Text Answer: they type. Character Limits sets the shortest and longest answer, from 0 to 1000.
- Multiple Choice: they pick from the choices you type under Choices, up to 25. Minimum Choices and Maximum Choices set how many they must pick.
- Image Upload 👑: they send a picture.
Write the question
Type the question in Question, up to 100 characters. Use Description for a hint under it.
Required is on to start with, so applicants cannot skip it.
Add more questions
Press Add a Question for each extra question. The numbers on the button show how many you have and how many you can add. Drag a question to reorder it. A question keeps the kind you picked, so to change it, delete it and add a new one.
Publish

- Open Channel to post panel in... and pick the public channel where members should see the panel.
- Press Publish. Tickety saves the panel, posts it in that channel, and takes you back to Application Panels. Create, next to it, saves the panel without posting it.
In Discord, the posted panel looks like this:
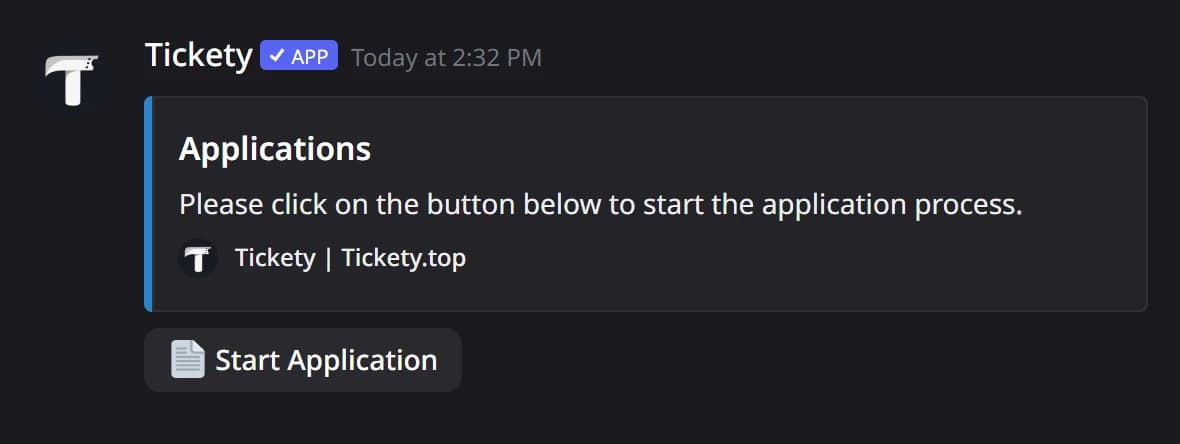
Press the button on the posted panel yourself to test it. By default the questions come to you in a DM, a private message from Tickety. It starts like this, and each question follows as its own message:
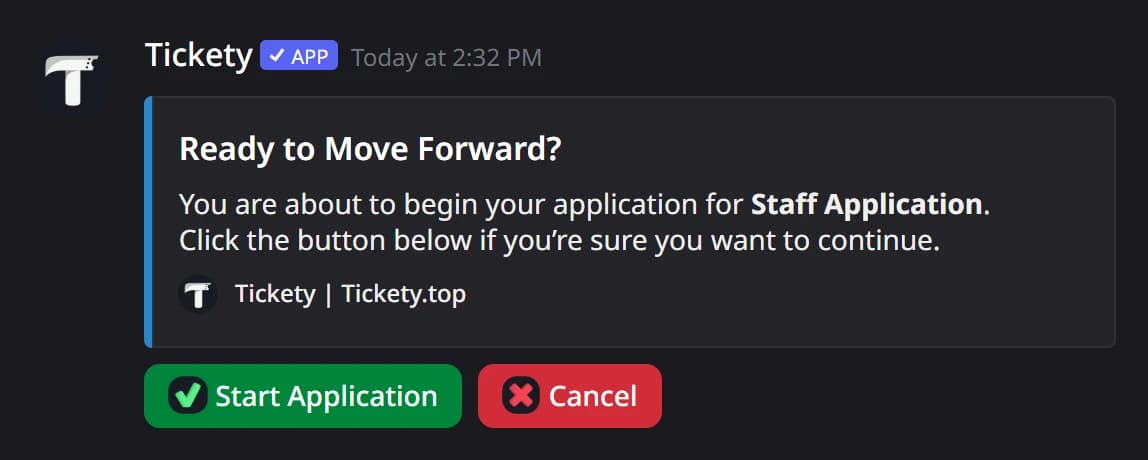
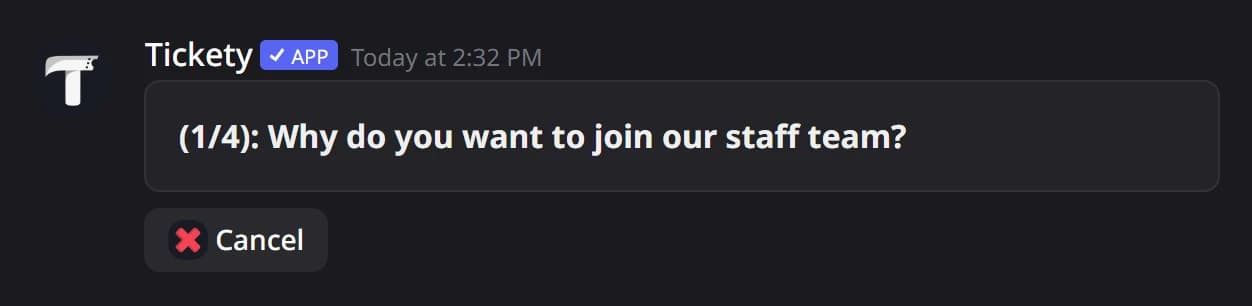
To let members answer on the website instead, see Change how members fill out an application.
It did not work?
Features marked with a crown (👑) need a Premium Subscription.